Six phases. No shortcuts.
Scroll through the actual sequence of a real renovation. By the time you reach the bottom, you know exactly what you're paying for.
Demolition & Drain
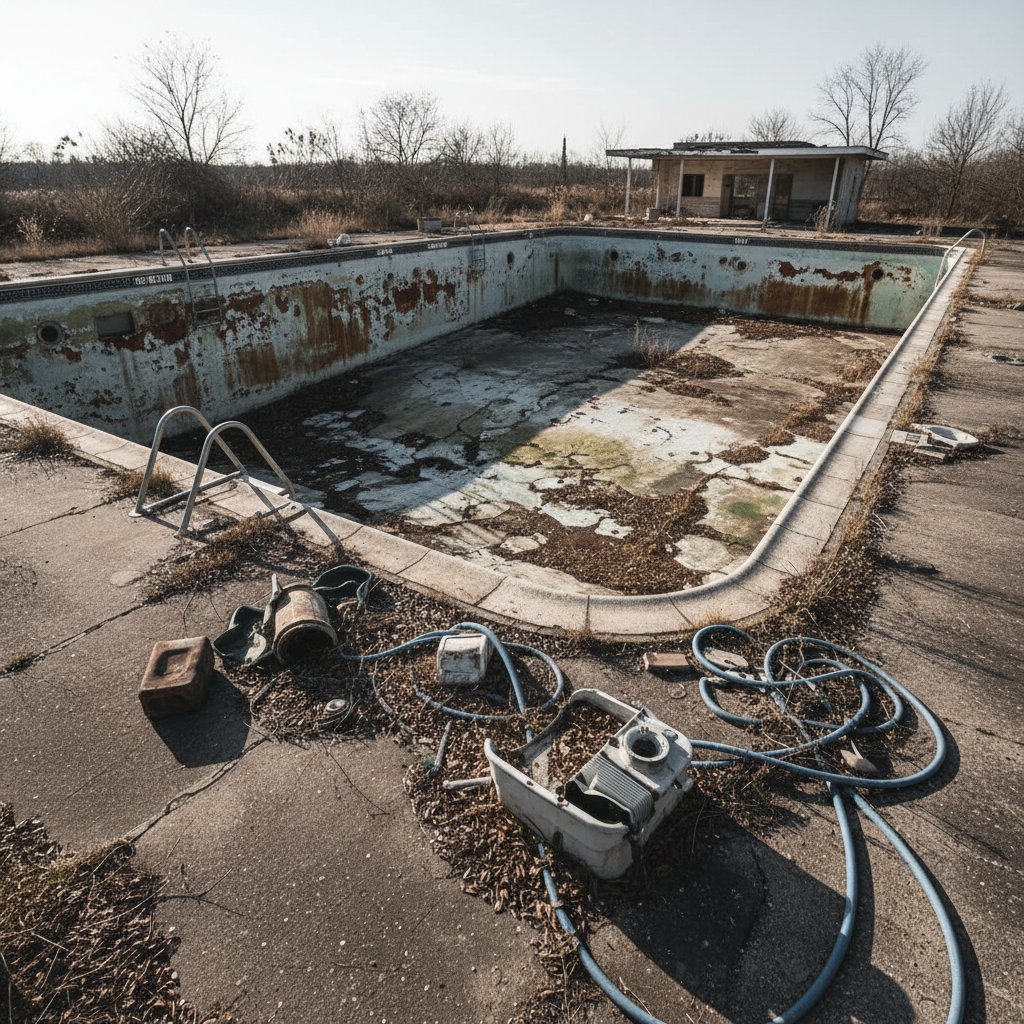
Stripping to bare shell
We drain the pool completely and use pneumatic chisels to remove every layer of existing plaster down to the shotcrete shell. Calcium deposits, delaminated marcite, and failed bond coats come off entirely — there's no skim-coating over problems. The shell is pressure-washed and acid-washed to open the surface for proper adhesion.
Pneumatic chippers, 3000 PSI pressure wash, muriatic acid solution
Structural Repair
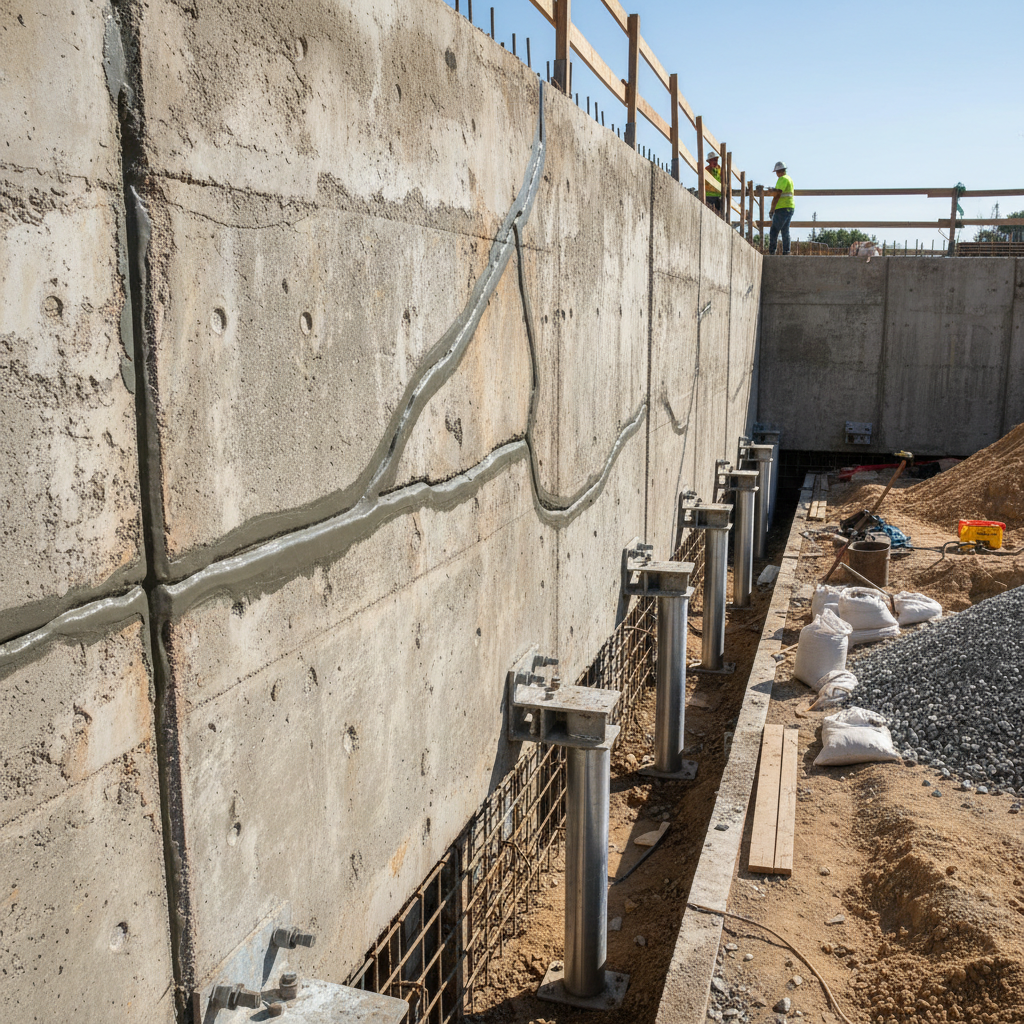
Fixing what's actually broken
Cracks in the shell are routed out and filled with hydraulic cement or epoxy injection depending on depth and movement. Hollow spots are chipped back to solid concrete. Any delaminated gunite is replaced. We document every repair with photos before proceeding — nothing is hidden under fresh plaster.
Hydraulic cement, two-part epoxy injection, structural gunite patches
Not sure which phases apply to your pool?
See What Your Pool Needs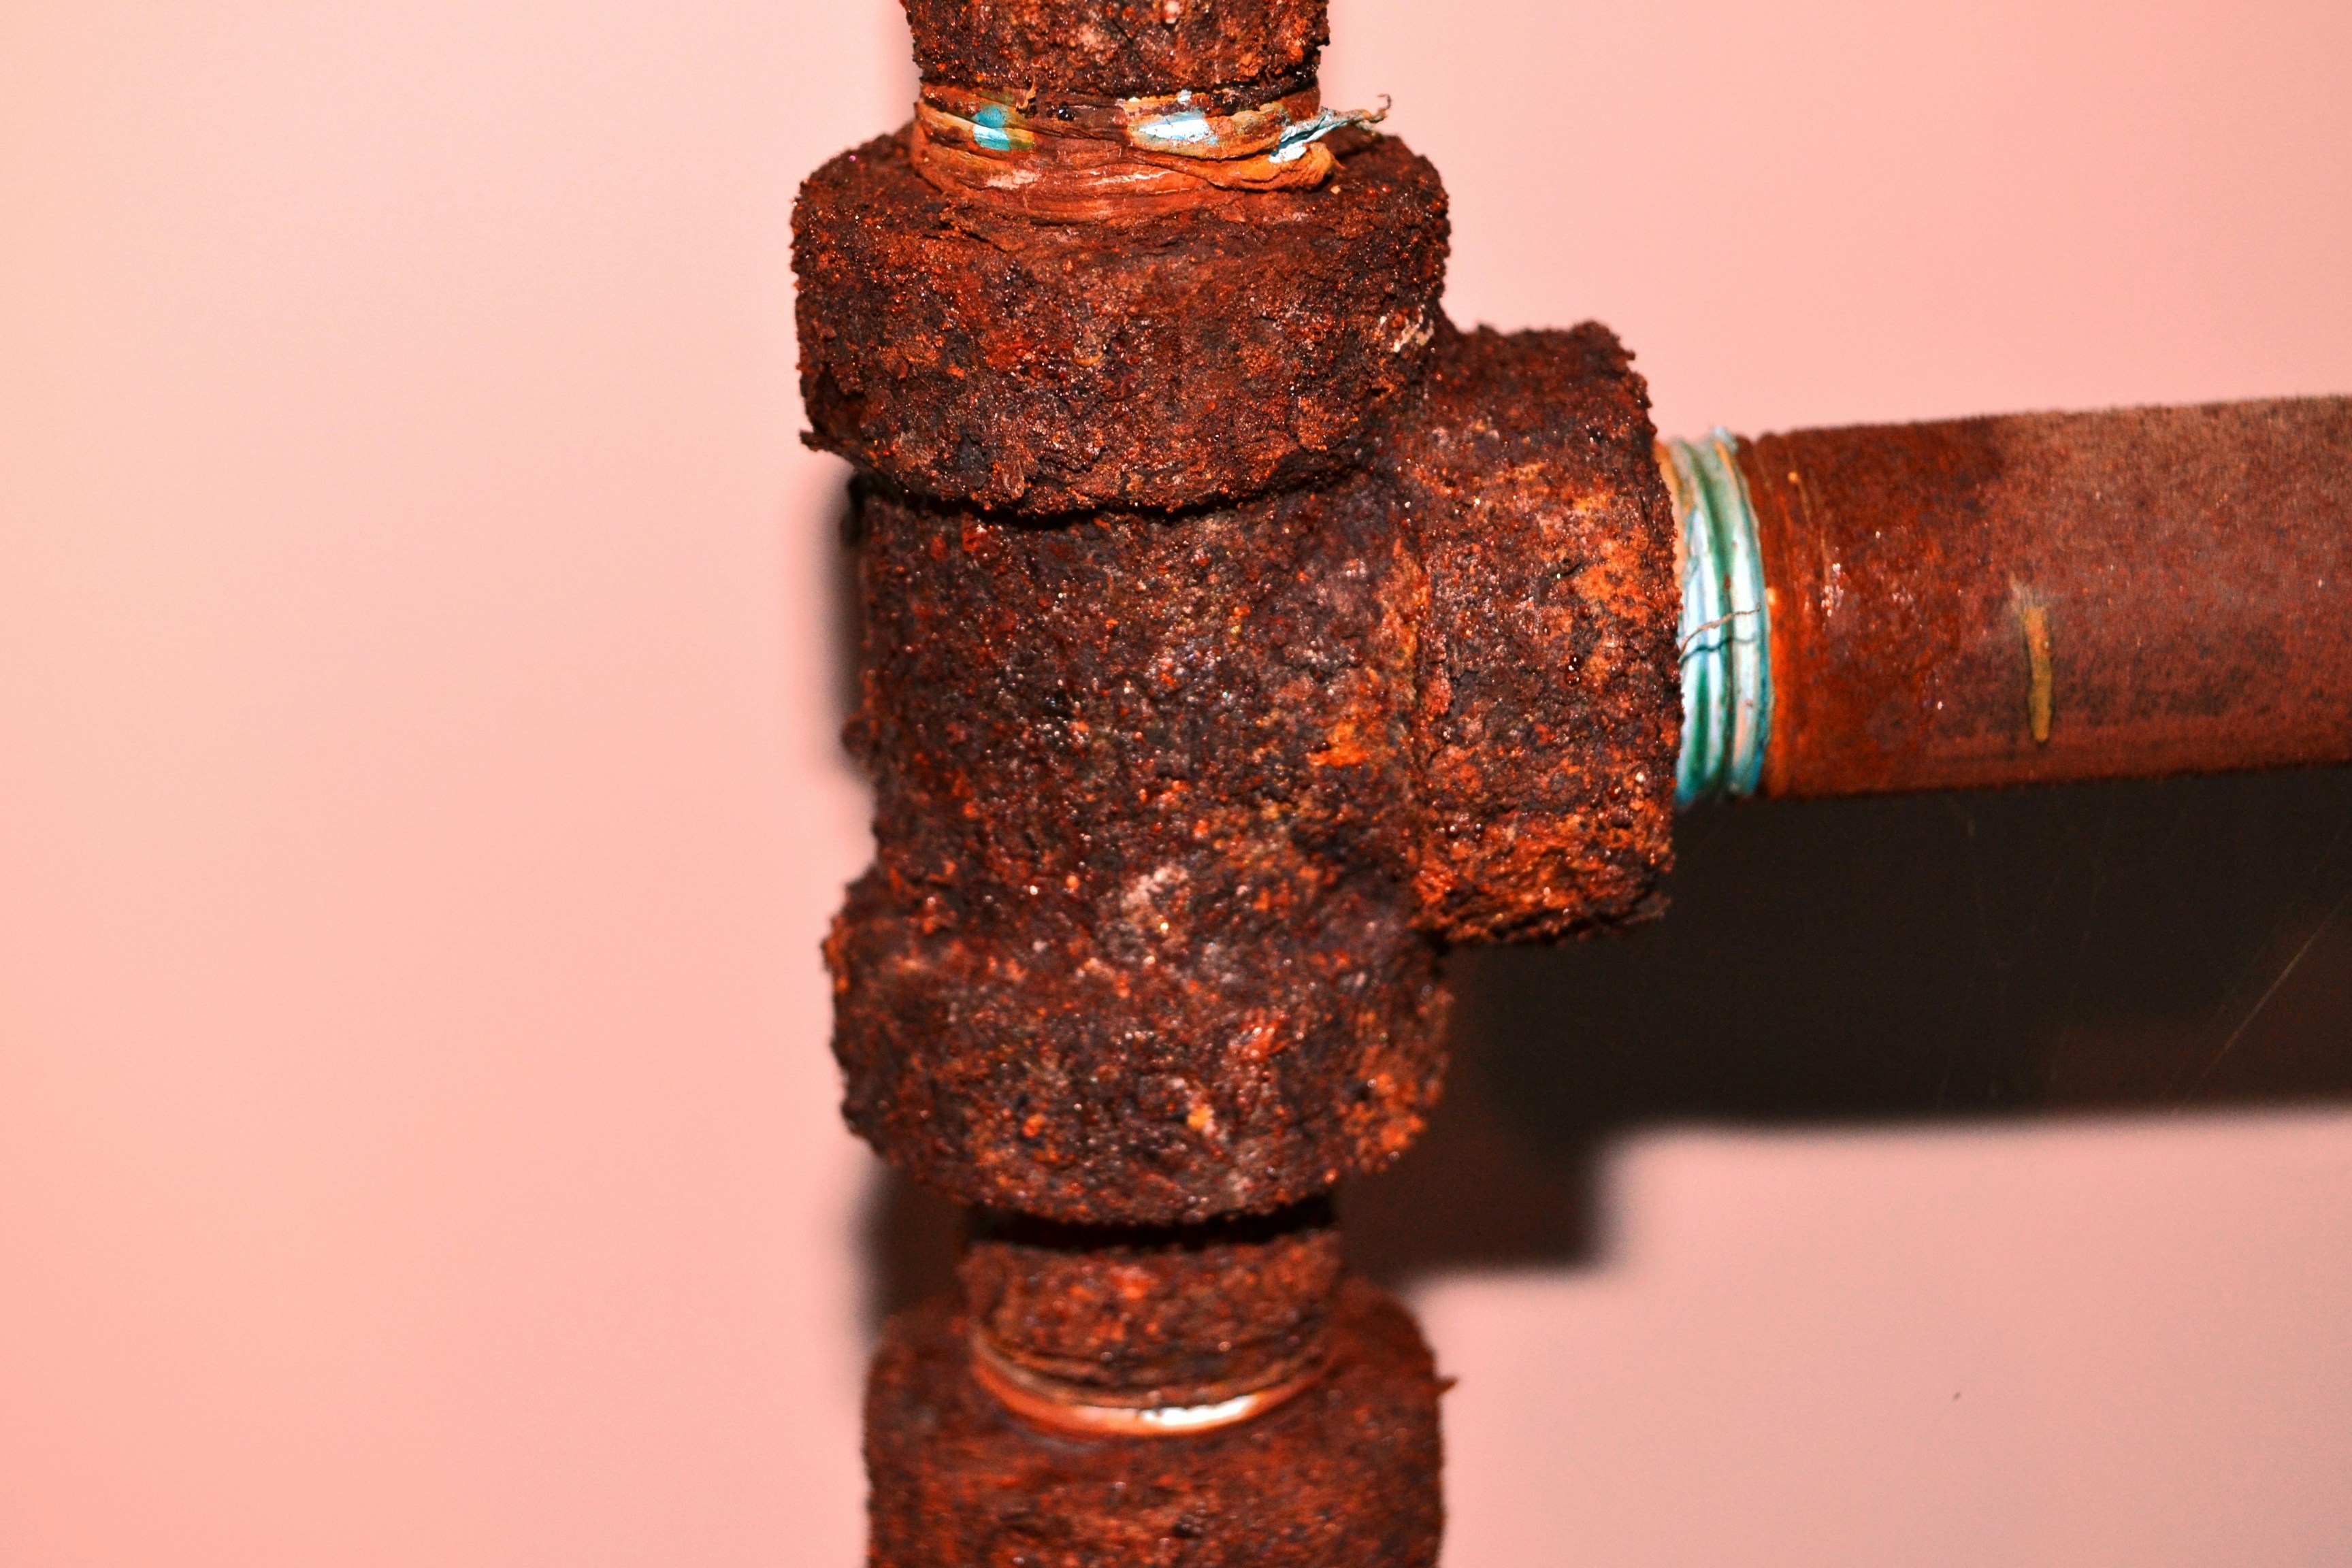
Plumbing & Electrical
The infrastructure you never see
While the shell is open and dry, we inspect and replace any failing returns, main drains, and skimmer ports. Unions are replaced with updated fittings. Conduit and bonding wire are inspected per NEC 680. A re-plaster is the last time accessing these components is cheap — we don't skip this.
Schedule 40 PVC, NEC 680-compliant bonding wire, Pentair/Hayward compatible fittings
Tile & Coping
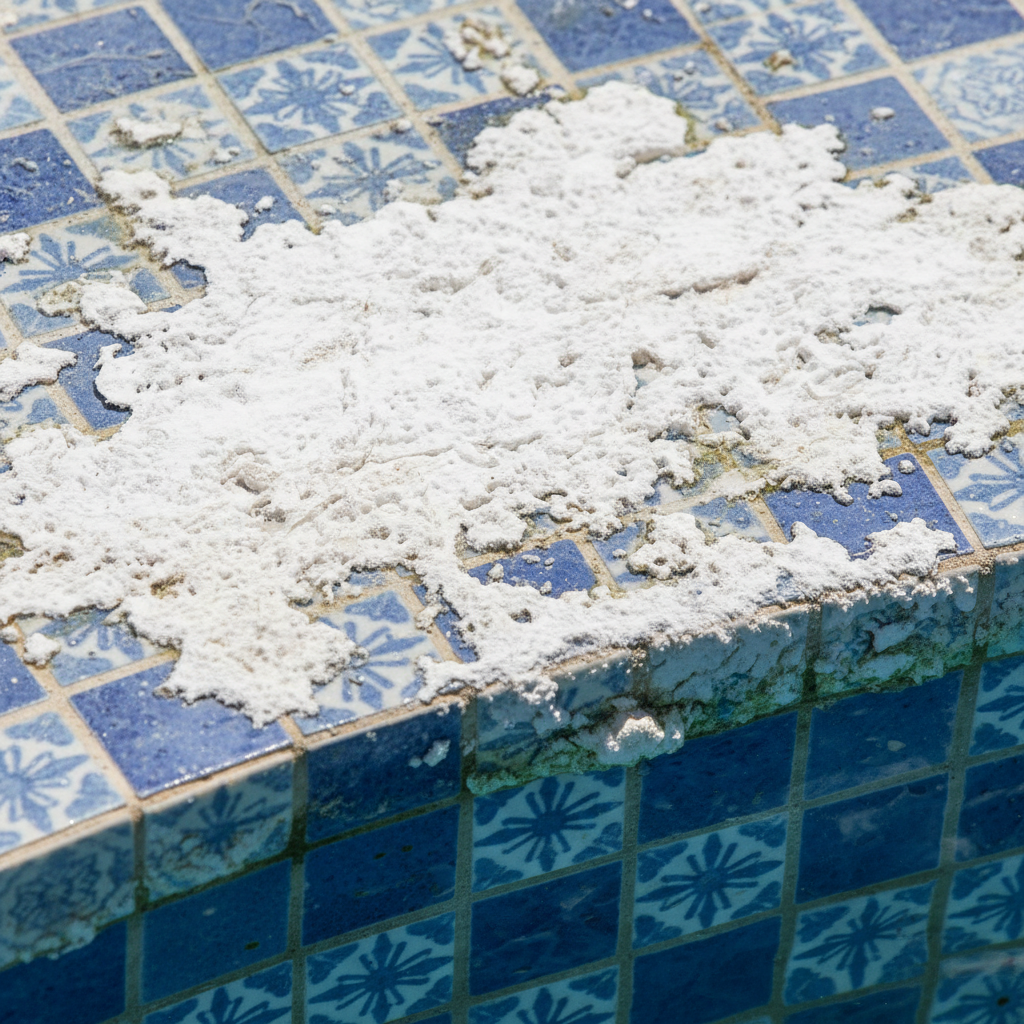
The visible waterline and edge
Waterline tile is set in white-modified thinset, grouted with sanded epoxy grout that won't absorb calcium or stain. Coping stone — travertine, bullnose concrete, or cantilevered — is reset on a fresh mortar bed with proper expansion joints. This is what people see first and what takes the most abuse from freeze-thaw and UV.
4×4 glass or porcelain tile, white polymer-modified thinset, Laticrete epoxy grout, travertine or concrete coping
Not sure which phases apply to your pool?
See What Your Pool Needs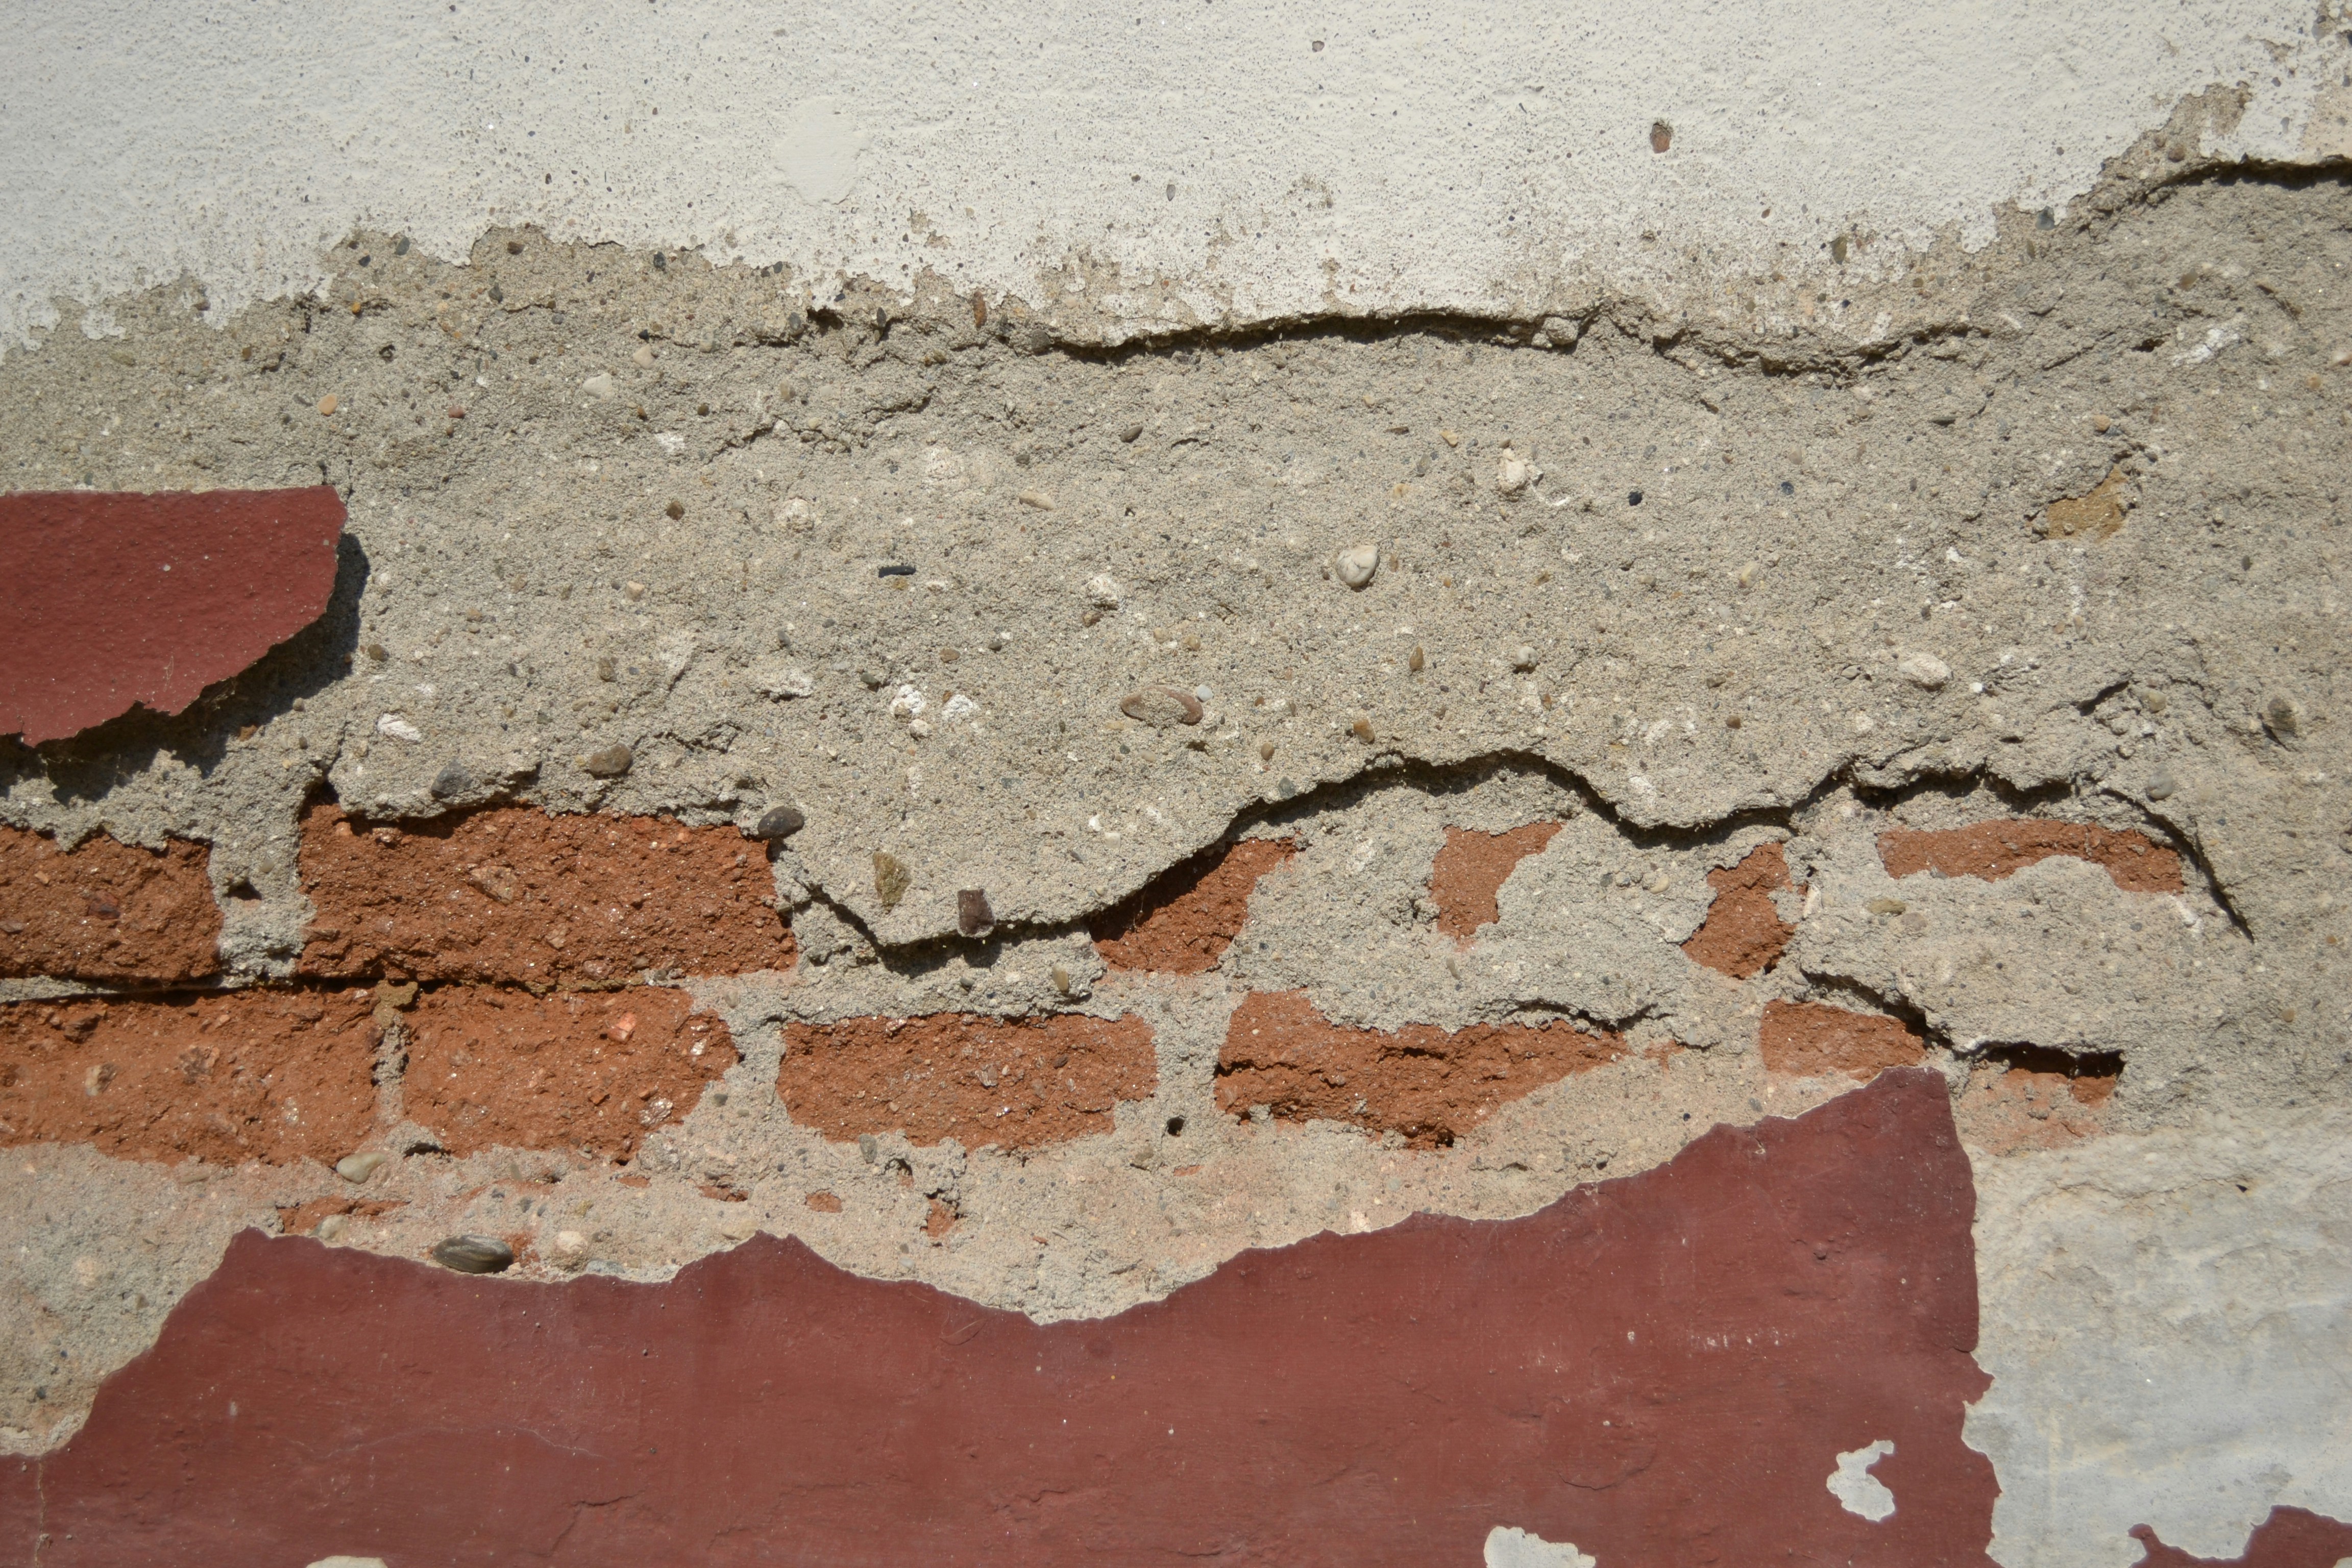
Plaster Application
The finish that holds the water
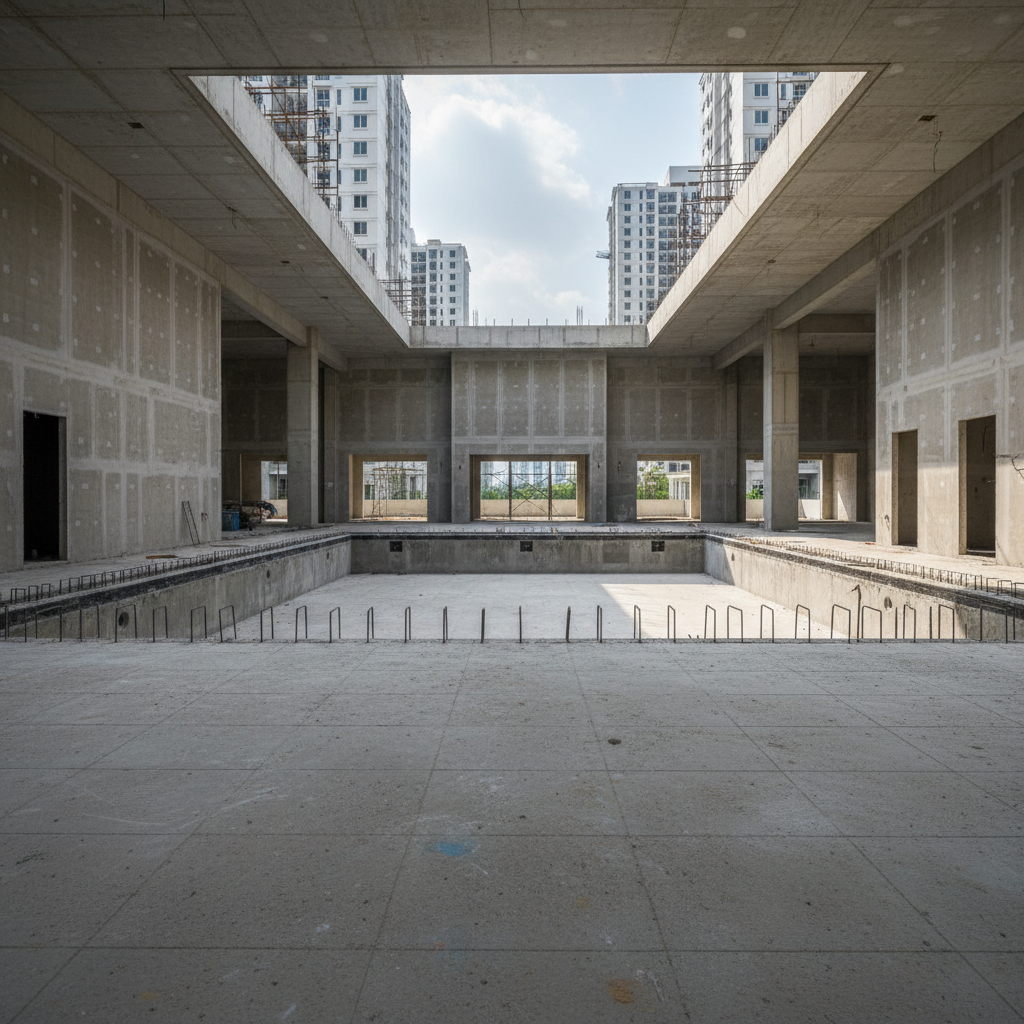
Bond coat goes on 24 hours before plaster — never skipped. The finish coat is hand-troweled in two passes: a scratch coat to embed and a finish coat burnished to the specified texture. Standard white marcite, quartz aggregate (Diamond Brite), or pebble finishes (Pebble Tec) are all available. Crew size and water temperature determine the finishing window.
White portland cement, calcium aluminate bond coat, silica or quartz aggregate, NSF-61 certified colorants
Fill, Balance & Start-Up
The 28-day cure protocol
Fill begins within 24 hours of plaster application — stopping mid-fill causes a permanent tide line. Water chemistry is balanced to a startup protocol: low chlorine, aggressive brushing twice daily for 28 days to prevent calcium nodules. We hand you a written chemistry log and a 3-year workmanship warranty before we leave the job.
City water or trucked fill, start-up chemical kit, 28-day brushing schedule
Three pools.
Three different problems.
Real projects, documented from drain to fill. No staged photography.

"They showed me photos of every crack before they patched it. I knew exactly what I was paying for before they poured a drop of plaster."
Sandra Kowalski
Homeowner, Scottsdale AZ
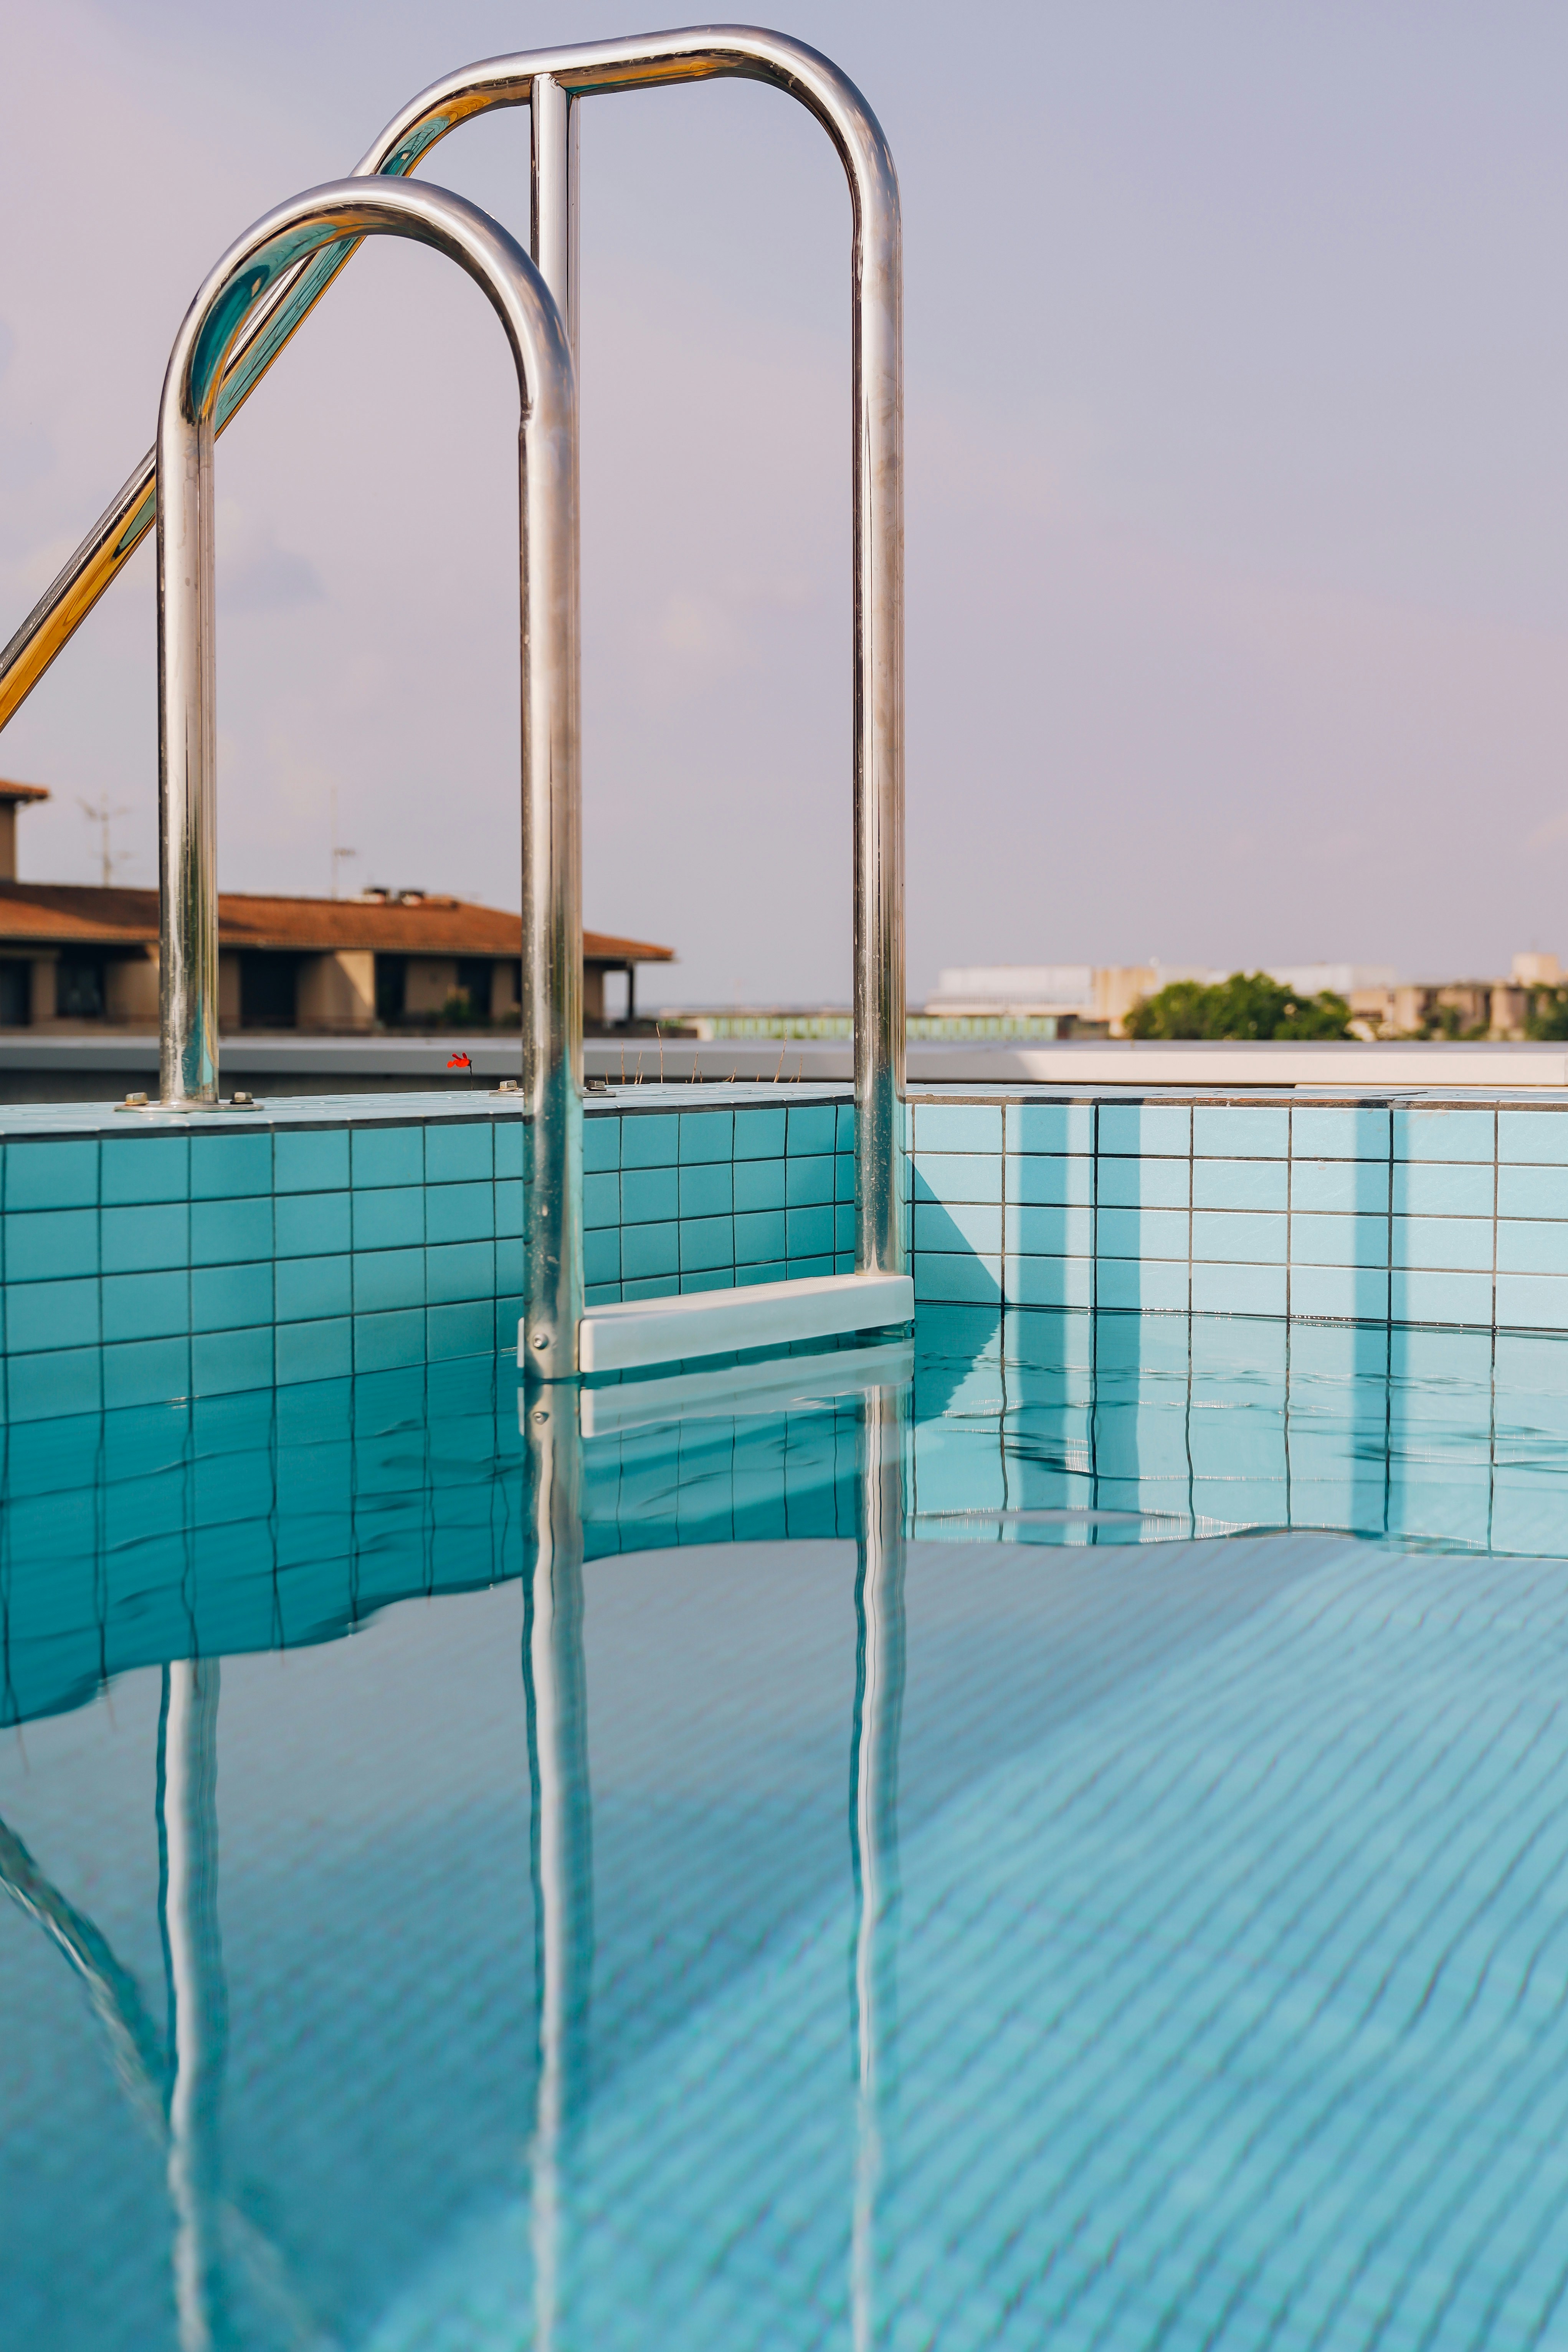
"The calcium on the walls looked like a cave formation. Gone. Looks brand new."
Marcus Webb
Homeowner, Austin TX
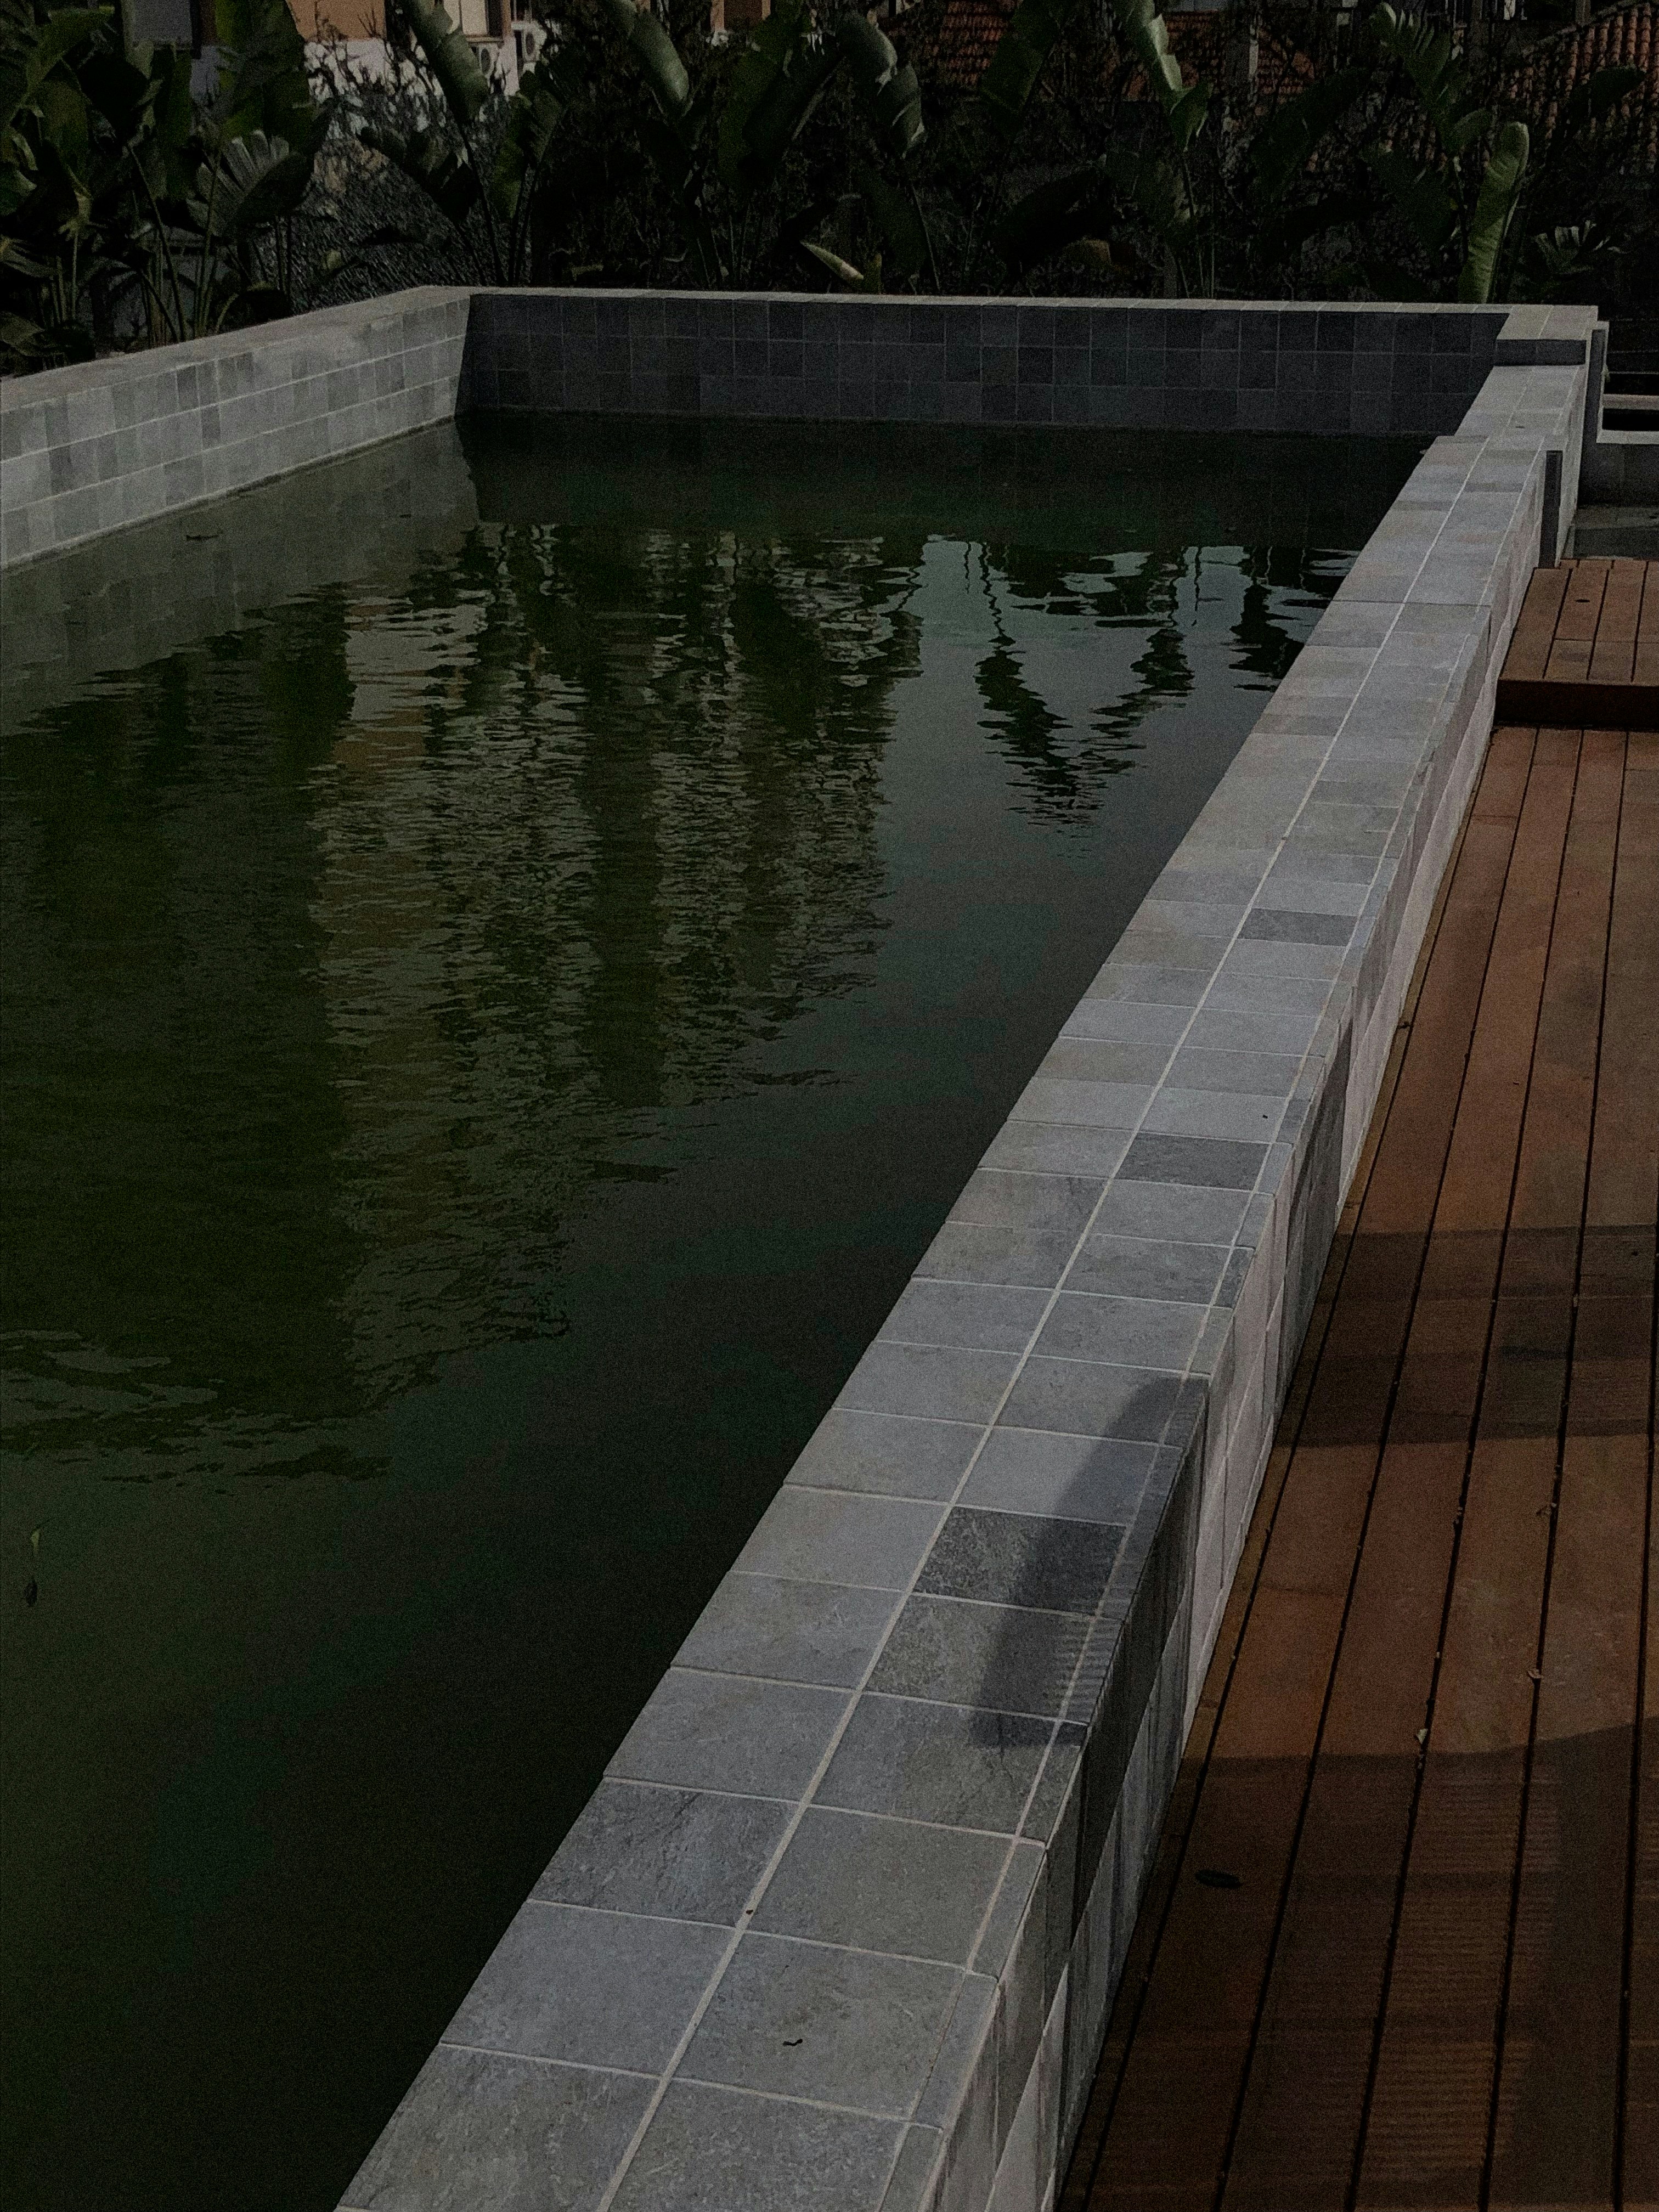
"Trip hazard gone. My kids can run around the pool again without me worrying."
Priya Nambiar
Homeowner, Phoenix AZ